By Earl Nottingham
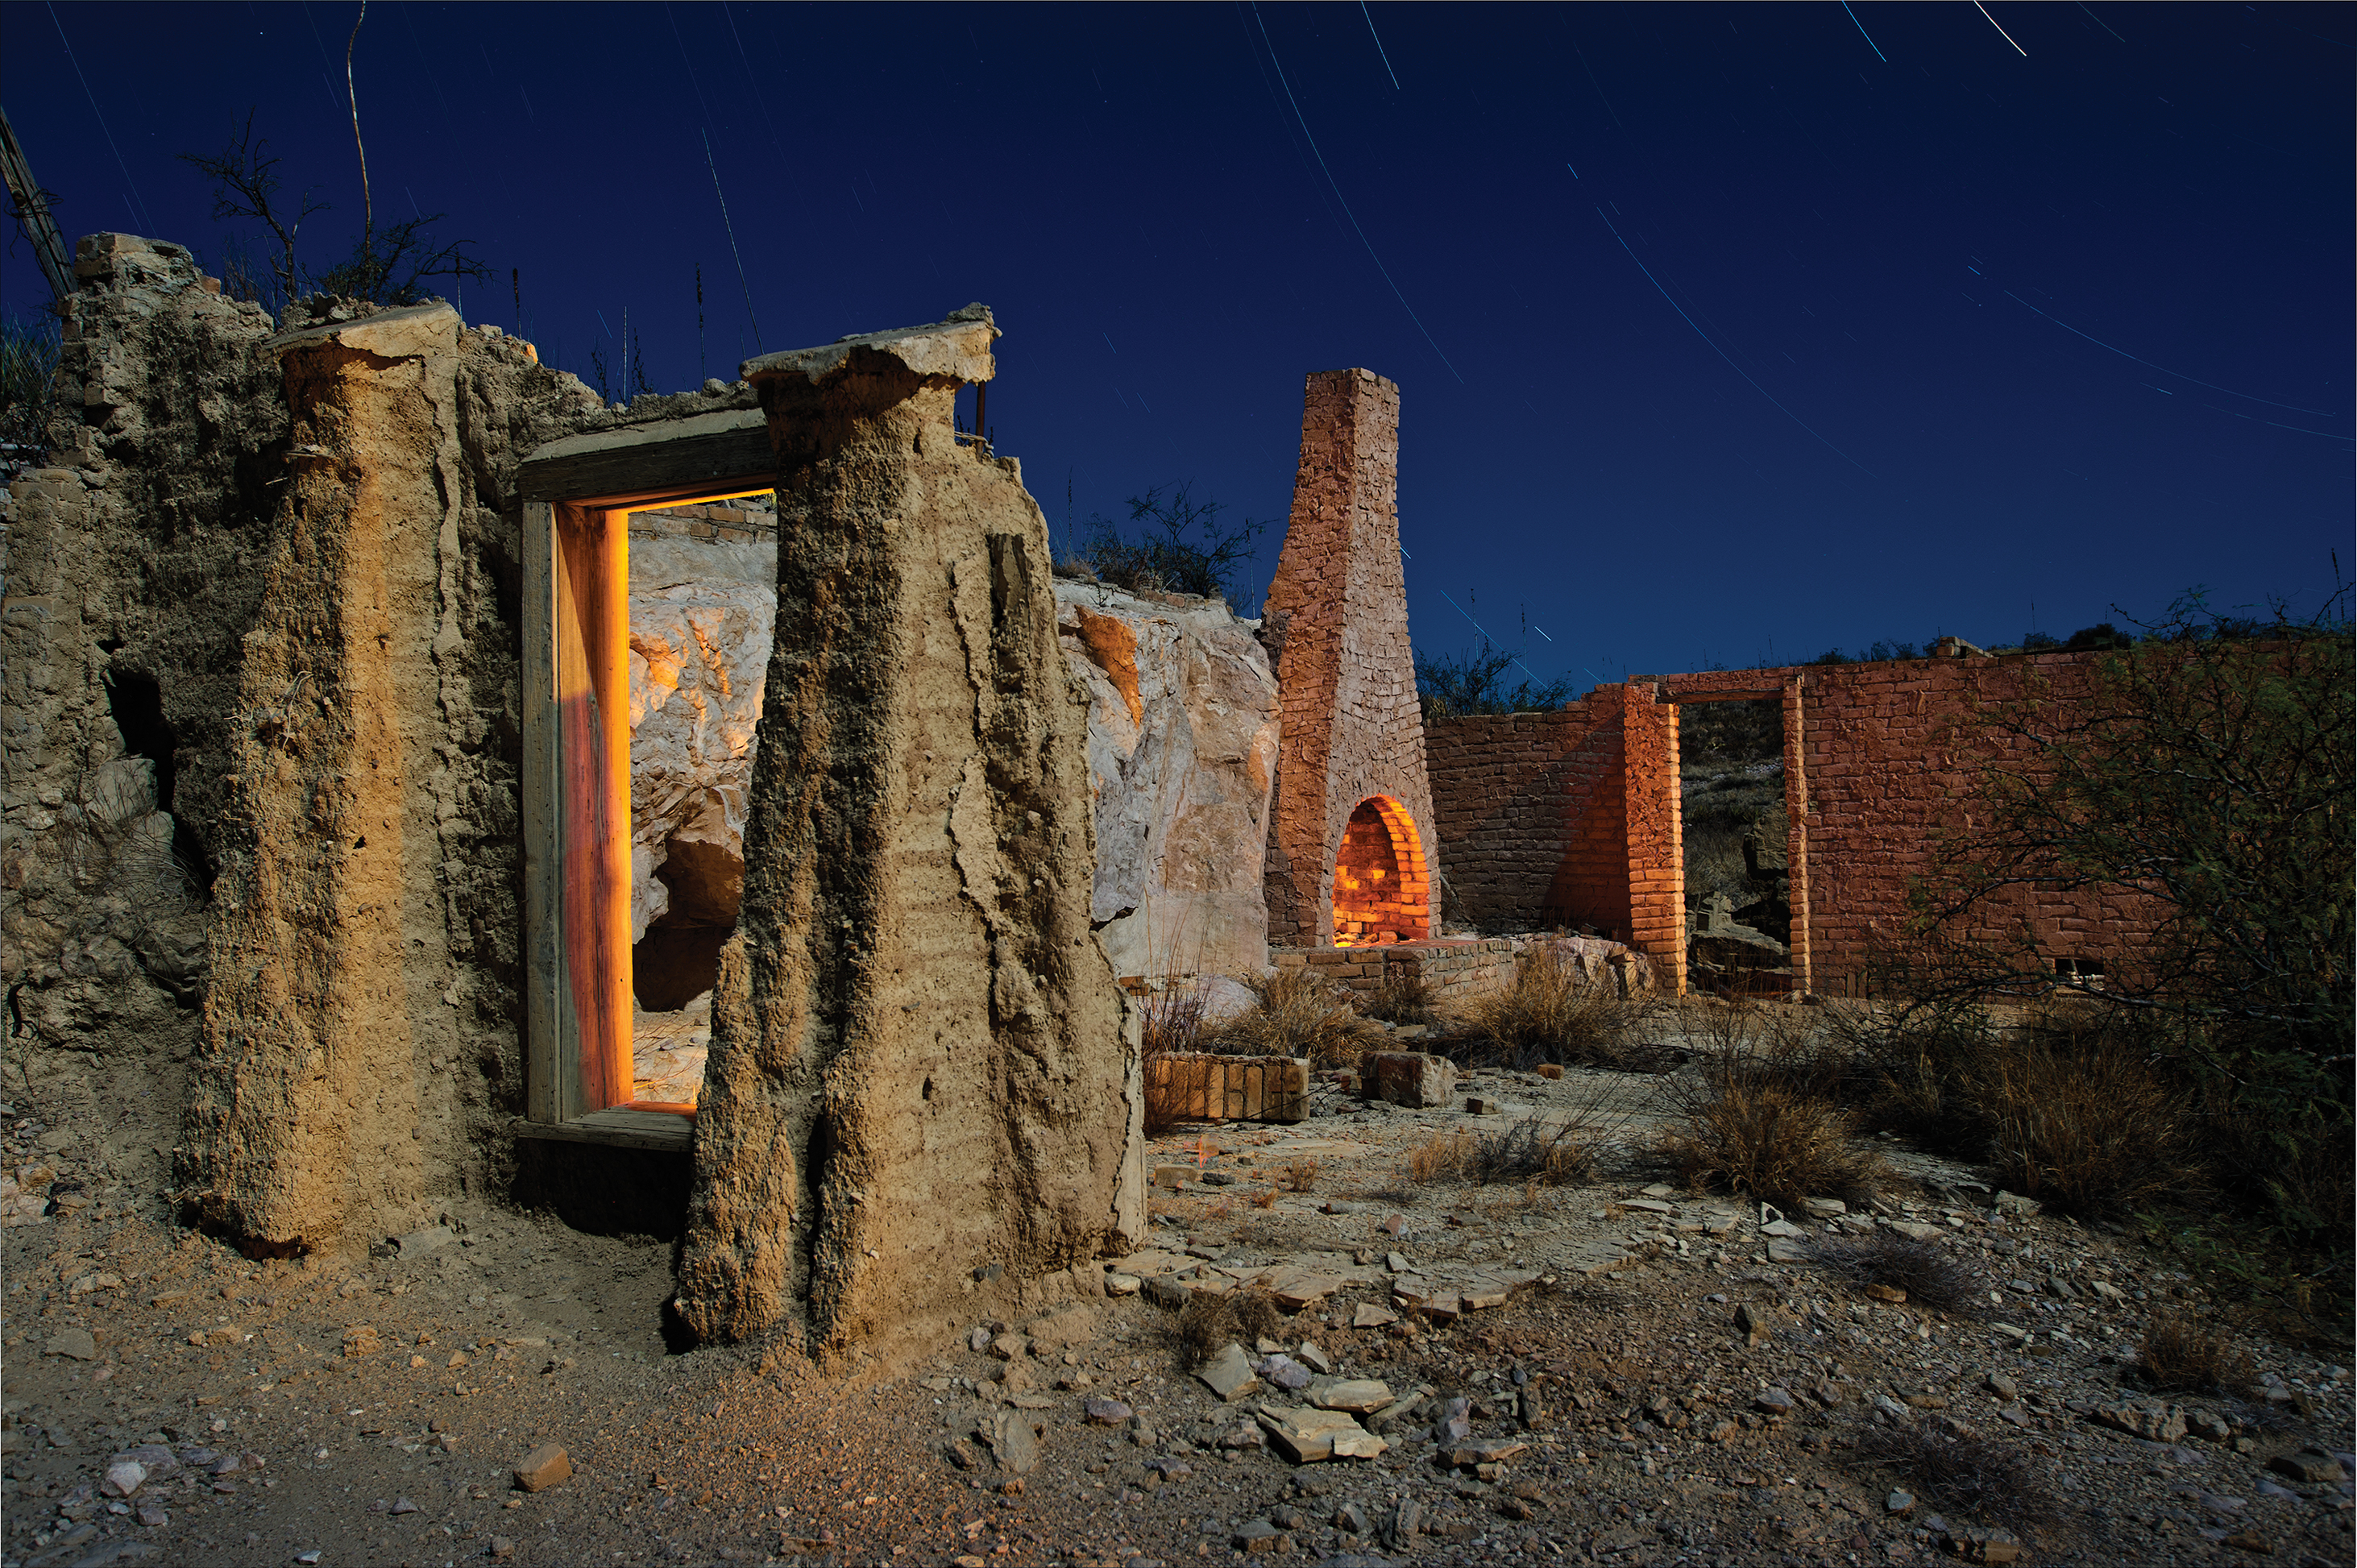
For photographers, the stars over Texas are bigger and brighter than ever thanks to the improved imaging capability and higher ISO sensitivities of today’s digital camera sensors. This technology invites new creative possibilities to not only photograph celestial objects but also to photograph terrestrial objects that are illuminated by either moonlight or even starlight.
Exposure times that previously required minutes can now take seconds, which means that stars can be rendered bright and stationary without becoming “trails” from long exposure times. For outstanding examples of night photography, see Chase Fountain’s photo essay, “Into the Night.”
Here are some tips that will help make your night photography easier and will have you howling at the moon after you see your results.
Bring a tripod. With night exposures typically running from several seconds to several hours, a sturdy tripod is essential. A lightweight tripod can be stabilized by hanging your camera bag from the center column.
Use an electronic cable release. Equally essential is an electronic shutter release to eliminate vibration. A good release should also include a timer and intervalometer.
Don’t forget your headlamp or penlight. It’s one of those things that you usually forget but really, really need for finding buttons and dials in the dark.
Learn manual camera settings. Although it is possible to get good night photos with some automatic settings, life will be better if you control the focus, aperture and shutter speed settings manually. Read your owner’s manual and become familiar with manual controls.
Embrace higher ISOs. As mentioned previously, higher ISO settings, which make the camera’s sensors more sensitive to light, are your passport to new ways of seeing the night sky. For traditional star trails requiring long exposures, a high ISO is not needed; ISO 100-200 is fine. For broad expanses of sky where each star is stationary, explore ISOs from 1,600-6,400 with shutter speeds around 15 seconds or less with wide-angle lenses. You will see an increase in digital noise with higher ISOs and can personally decide the limit to which you consider the noise acceptable. There are also techniques available such as stacking images and using software to mitigate digital noise, but we will visit those in future columns.
Shoot as wide an aperture as possible. Using a wide aperture (lens opening) such as f/2.8 will allow the sensor to gather light more quickly and will keep shutter times shorter. However, if you include objects in the foreground such as trees, you will need to close down the aperture to keep both foreground and background in focus. This is where learning to set your camera manually comes in handy.
Include foregrounds against sky. Even though a photograph of the Milky Way or a moonlit landscape is awe-inspiring, consider adding a foreground object such as a tree, structure or person as an extra element that will give added dimension and presence to the image.
Shoot RAW if possible. Shooting a RAW file pays off big-time when shooting night images. The data contained in a RAW file far exceeds a typical JPG file and affords the photographer numerous choices in the final look of the image. Working with this type of file requires a different workflow since RAW files must use special software for processing.
Experiment. There is no one best exposure for night photography. Everything depends on the lighting condition at a given moment as well as your camera and lens combination. Try a variety of exposure times and ISO settings to find the image that looks best to your eye.
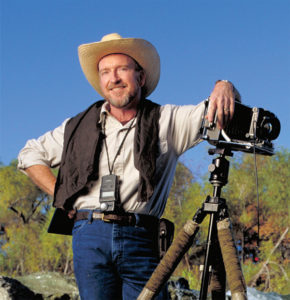
 Earl Nottingham is the Chief Photographer for the Texas Parks and Wildlife Department. For more information, go to www.earlnottingham.com.


