


 We have all heard the Genesis story about how God created light and it was good. “One light to rule the day and one the night…” it continues. When I was a new photographer, using only one light seemed odd to me. You see, I was taught how to use a five light studio setup (main, fill, accent, hair, background). I also find it interesting that in God’s lighting diagram, the light is stationary and the subject moves, thus creating different patterns and designs.
So, what can we learn form this? The answer is that, while some occasions call for multiple light sources and directions, there are other times when one light can be, and often is, enough. In fact, I have begun to love “one light portraits” where a single stroke of the brush from one direction is used for sculpting and shaping a scene. Not to sound trite, but if it works for God, surely it will work for me.
The Set Up
single direction. While the modifiers and techniques may change, the principles are the same. By understanding some foundational properties of light, we can make it work for us. Note that, in some cases, a reflector is used as a fill. However, it is used in a way as to not diminish the power of the main light but rather to enhance its qualities, while still achieving a single light source image.
Not to sound trite, but if it works for God, surely it will work for me.
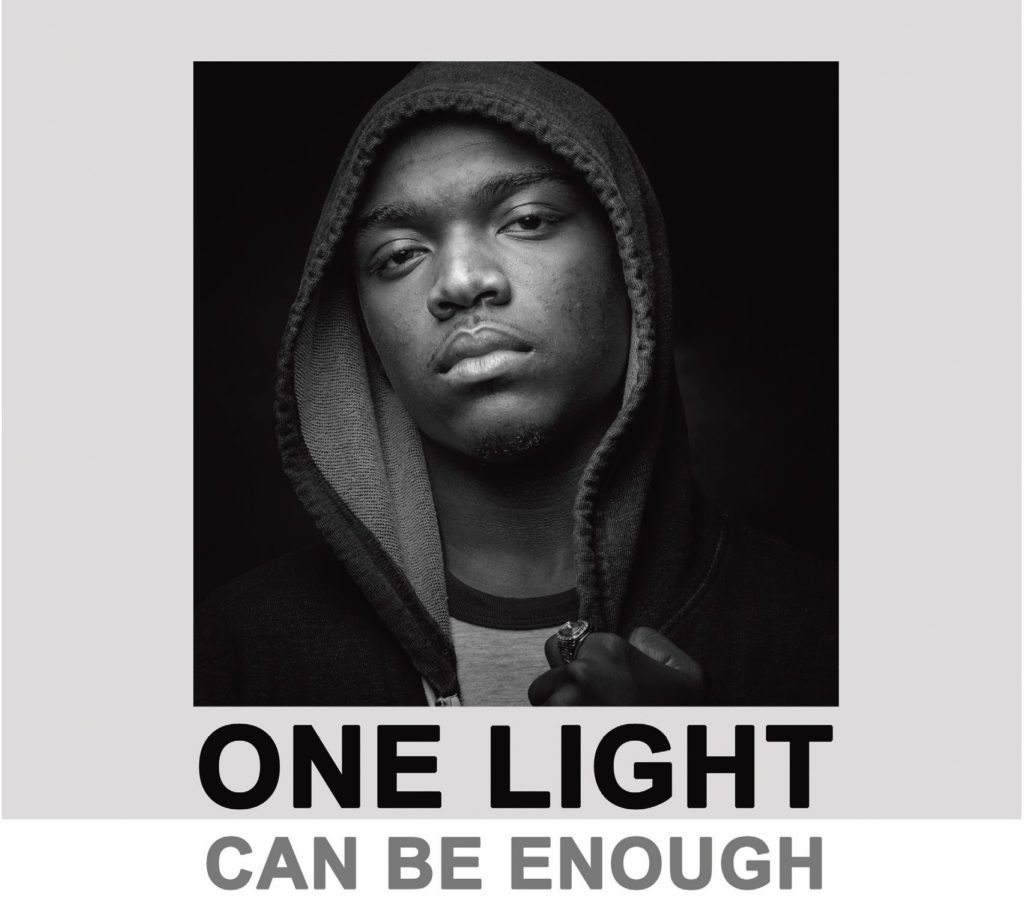
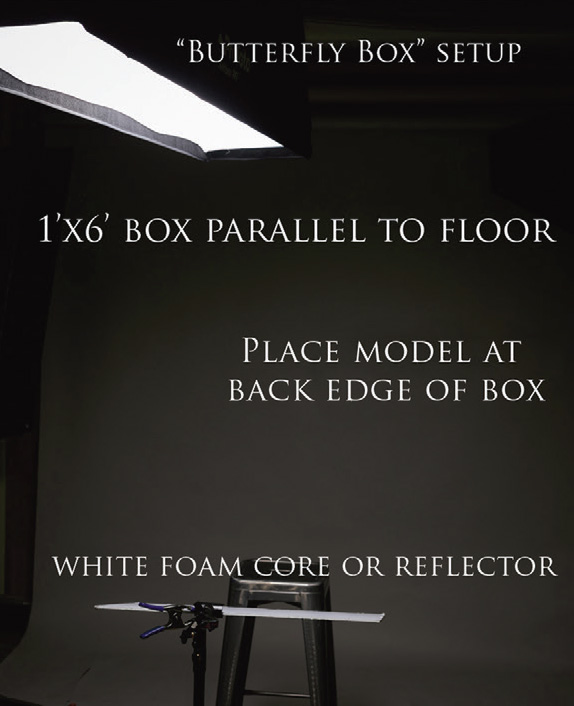
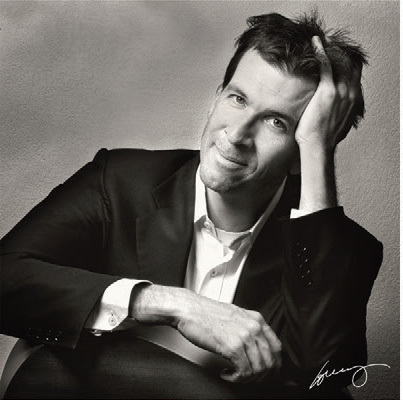
This does two things. First, a soft light quality is produced due to the size of the source and its distance from the subject. Second, because it is so close, the light fall-off is very rapid, allowing a nice gradient of light across the subject. The image at the top of the page of the young man demonstrates the look achieved with this.
Note that a 6’ long strip will give you a larger spread of light than the 4’ box. To control the spread of light, consider using a soft-grid as well.
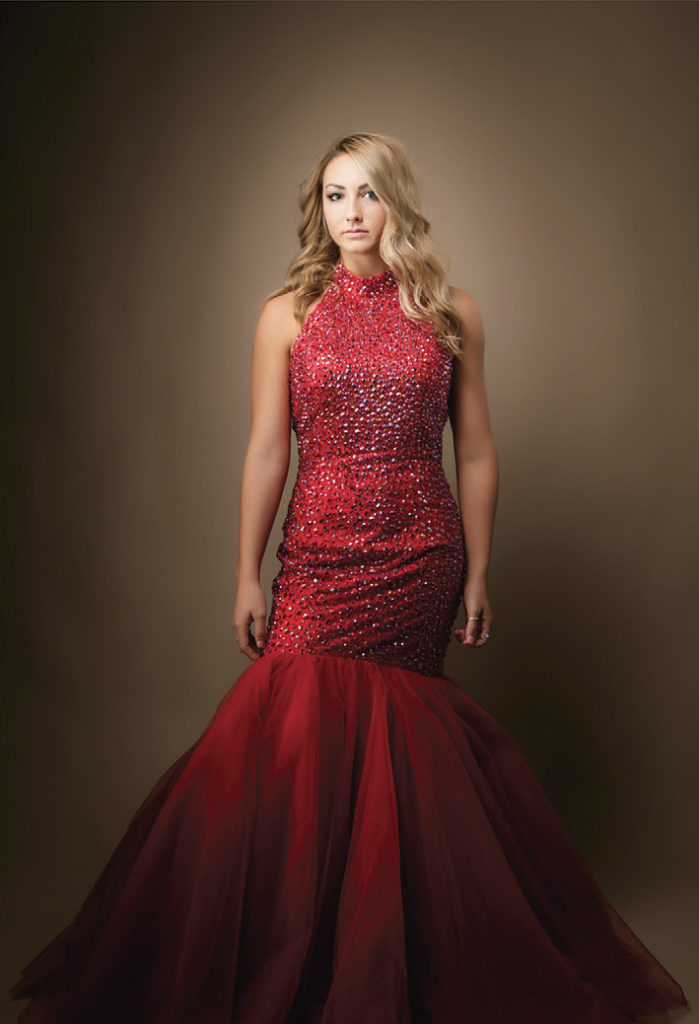
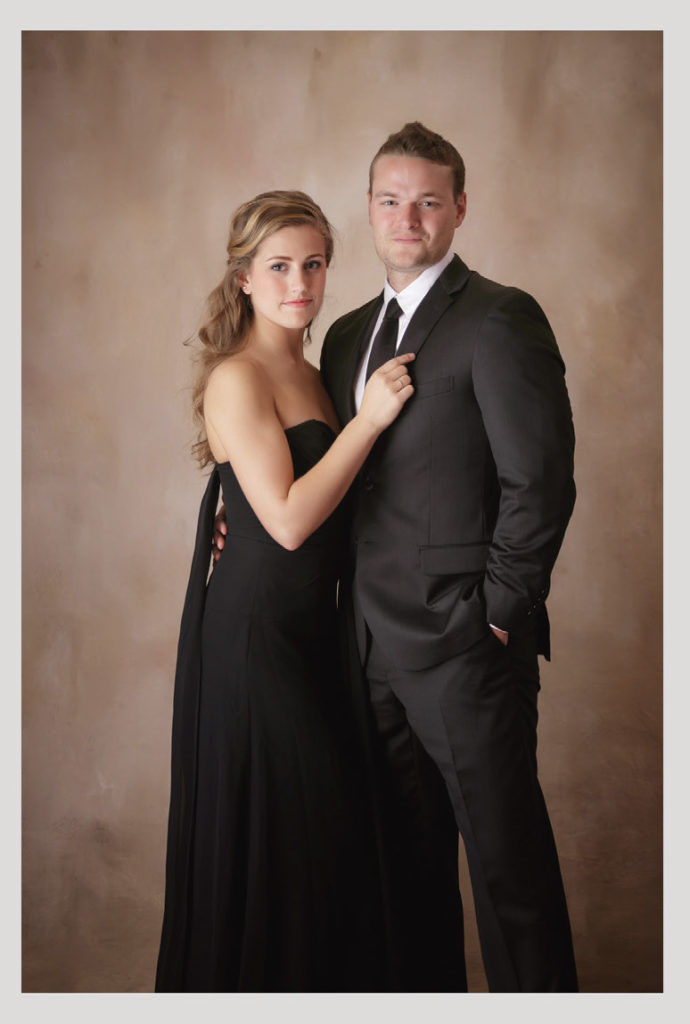
Using that same modifier (even though the 1’x6’ box works better for this), position the box to the side of the subject with the box now perpendicular to the floor and it creates a beautiful light for full-length portraits while still maintaining a fall-off and spread to create an image with depth and texture as seen in the full-length image of the young lady above.
While the modifiers and techniques may
change, the principles are the same.
Try adjusting the angle of the box on its center axis, rotating it left or right, while still keeping it perpendicular to the floor, to get the desired light pattern. By rotating the box in this manner, I was able remove light from the bottom of her dress and direct the viewer’s eye to the face while still maintaining a pleasing quality on the face. This rotation also allowed more light on the background.
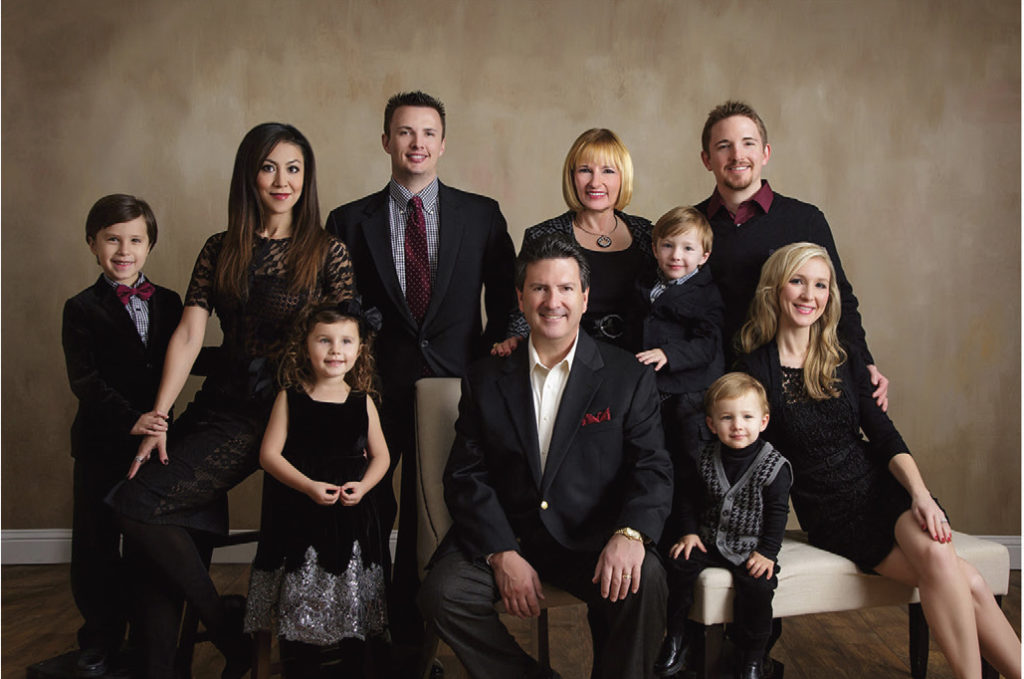
The images covered so far have been more dramatic in nature, which was intentional. But sometimes you need less ratio. This can still be achieved with a single source. When lighting couples or groups, I will use either a single 5’ octa-box, a 7’ umbrella or a large diffusion panel such a Translum® or a simple white sheet. The image of the family above was achieved with a single source feathered in such a way that the fall-off across the group was kept within a .5 stop range. The distance of the source from the subject and the relationship of the subject to the background allowed me to get light on the background and successfully light my subjects creating depth with only one light source.
 Try This
In this final example of the couple above, I used Transom®, a roll of diffusion material that can be purchased at Arlington Camera. A single strobe is placed behind the material at a distance so the light is fully illuminating the panel from corner to corner, typically 5’-10’. Translum® is 54” wide and the roll is 30’ long so I can create a very large source efficiently and affordably without the need for large boxes or modifiers.
For this couple, I used two methods. One was positioning the panel in a location the a soft-box would normally be on camera left slightly in front of my subjects. This gave me a very large, soft source to light both the subject and the background with minimal fall-off. The great thing about a product like this is it affords me the opportunity to light full-length and still have a soft direction of light.
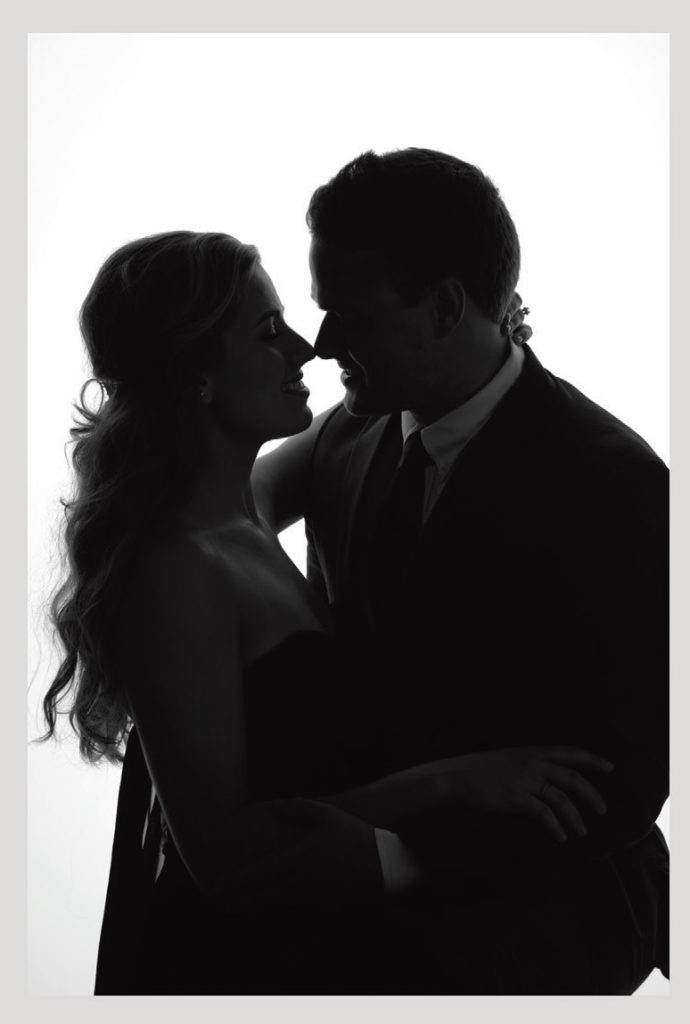
In this instance, the roll was approx. 8’ high and went to the floor. I then changed camera position and re-posed the couple to create a silhouette and used the Translum® as the background and the light source. I prefer this type of silhouette because you can still see soft light creating depth and shape to the subject as opposed to a clean edge around them.
The next time you are lighting your subject or packing gear for a job, remember that often times less is more and one can be enough.
It has worked for this planet and I hope this article will allow it to work for you. Happy creating.
 About the Author
Cris Duncan owns and
operates CjDuncan
Photography in Lubbock,
TX with his bride, Deanna.
They offer both portrait
and commercial services.
Cris and Deanna are Texas
School Instructors and
founders of Find Your Focus
Photographic Education.
Learn more at cjduncan.com.


