


 If you’ve ever wanted to make some good looking name badges for an event, chances are you created a nice Photoshop file and spent hours editing the text layer that had the person’s name. Edit, print, edit, print, edit, print, and on and on. But, there is a better way and it’s been hiding in Photoshop for years. You can create hundreds of variable images in just minutes!!
Photoshop now supports data-driven graphics, a fancy way of saying “OMG, I can make a hundred name tags in just a couple minutes”. And we’re not just talking name badges. I can dynamically replace text, pixels or even hide and reveal layers based on the contents of a data file. Using this technique, I made name badges for everyone on our Ireland Tour and I could do it in just a few minutes. Let’s look at what steps I went through to accomplish this.
Here are the Step-by-Step procedures…
 Create your graphic
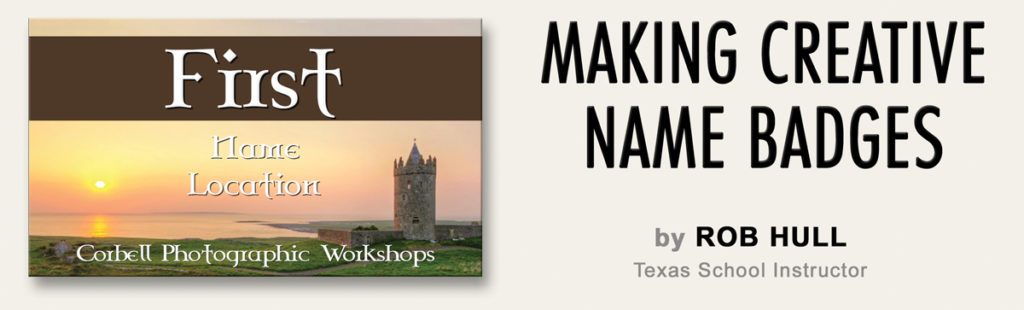
The first thing to do is just design the name badge. In my case, I used a background image and then created a text layer for the person’s name and one to indicate where they are from. I used a font that looks Celtic and applied some layer styles to make the text pop. I also named each of these layers. They will show up in menus later so it helps me keep track of what each layer contains.
Define Variables
Define the variables in your document
In our sample here, we want to use variable data for the person’s name and the City/State. Once the layers are created and named we just tell Photoshop that those layers will be replaced with variable data.
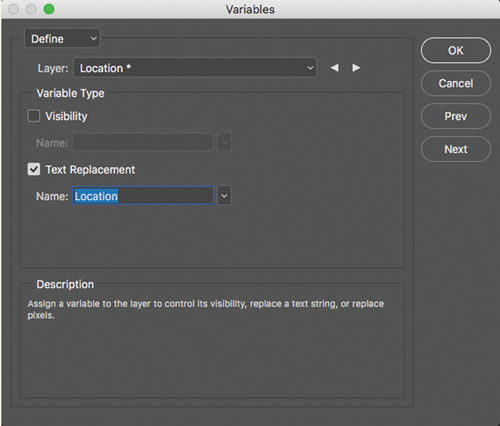
1. Go to Image > Variables > Define.
2. Select one of the layers with content that you’d like to define as a variable. In our case, the name or location layers.
3. Define the type of variable – for the name badges it’s Text Replacement but look, oh yeah, there’s a lot you can do with this.
4. Define a name for your variable – there are some specific rules but basically, no spaces or special characters. Use all alpha characters and you won’t have a problem.
5. click OK.
 Import Your Data Set
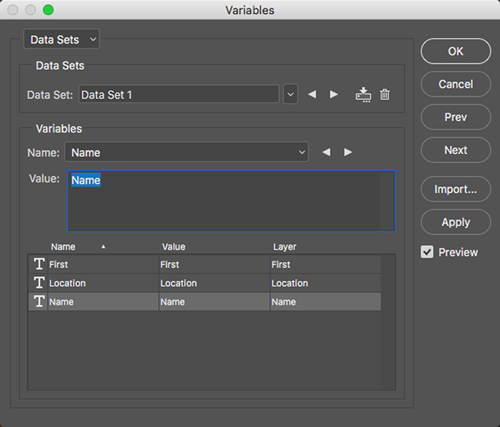
Use the Define Sets dialog to Import your data file. Now that Photoshop is ready to read all the data, we need to import the data file with all the detailed information. Photoshop wants to read a simple text data file. Either a comma-separated (CSV) or tab-delimited file. If you’ve got the information in an Excel spreadsheet, you can easily save the data as a comma-delimited file.
 Make sure you have a column name at the top of each column of data. I like to use single words, no spaces. It just makes things easier. This name should match the name used to define the variable layer in Photoshop.
1. Go to Image > Variables > Data Sets
2. Select Import… and select the data file you created above.
Generate Graphic Files Using Data Sets
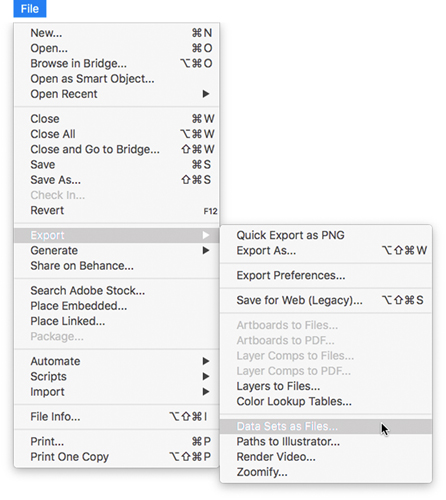
Generate your individual files by going to File > Export > Data Sets as Files… Once you’ve defined the variables and the data sets you can now generate all the individual PSD files.
1. Select File > Export > Data Sets As Files
2. Enter the base name you want for all your files.
3. Select a destination directory for all your files.
4. Choose the data sets to be exported.
5. Click OK
 Photoshop will only save PSD files so if you want these images as JPG, or some other format, you’ll have to batch process them. That can be done in Photoshop or Lightroom.
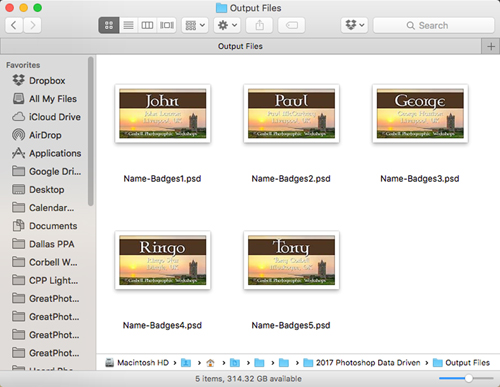
Once exported, all your files will be placed in the folder you indicated as individual .psd files.
For more detailed information about this, check your Photoshop User Guide and search for “Create data-driven graphics”.
 Rob Hull, M.Photog.Cr., CPP, started Great Photography over 20 years ago in Coppell, Texas. In that time, he has offered commercial, portrait, and freelance services to thousands of clients. This year he teams up with Tony Corbell with “Between Light & Shadow” at the 2018 Texas School of Professional Photography.


