


by Alison Carlino, Texas School Instructor
No matter the genre of photography, one quickly realizes that he/she has to learn to control the direction, color, quantity, and quality of the light falling on your subject. The following examples will demonstrate how and why I use the three directions of light in my work.
Front-On, Full Sun – In this situation, the light is shining straight into the subject’s face or coming in from the top down, such as noon sun. This type of light is harsh. Clients may not be able to open their eyes and deep shadows under the eyes and jaw will appear. Let’s say it’s a wedding day and you are forced to work in this type of lighting situation. If you can’t find an open shade or indirect light against the side of a building, your best bet is to give the subjects a pose they can handle in this type of lighting.
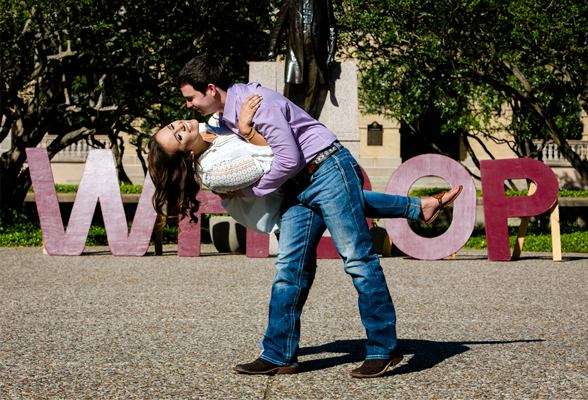 Let’s say it’s a wedding day and you are forced to work in this type of lighting situation. Be sure to look around for open shade first or indirect light against the side of a building. If neither of those exist, your best bet is to give the subjects a pose they can handle in this type of lighting (above).
Plan to expose correctly for the bright sunlight in order to keep your highlights from overexposing and bring along a soft white reflector or off camera strobe to open/fill the shadows. If you’re familiar with high speed sync and your strobes can handle it, this would be a great time to use it. Shooting beyond your sync speed allows you to darken your surroundings but you’ll need to keep the strobe close to the subjects because, the brighter the sun, the harder your strobe has to work.
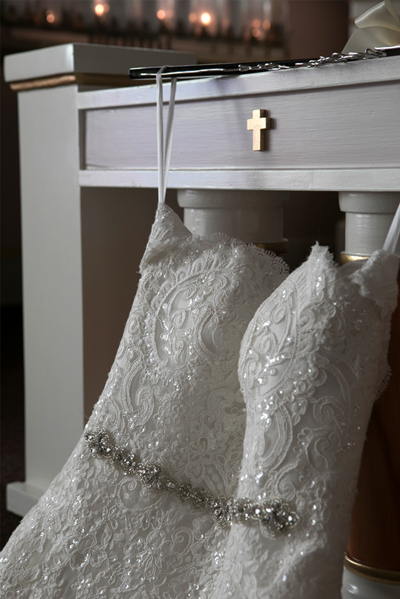 Side Lighting – This lighting can be used to create texture and shadows. If it’s used with people, a fill light will be needed on the opposite side to open the shadows. For example, this gown (top-right) looks yummy in the natural window light because I’m on the shadow side. The textures and the details of the gown pop out. I often “rake” a low powered & gridded speed light or a video light across wedding rings so that more dimension and depth is created around the rock.
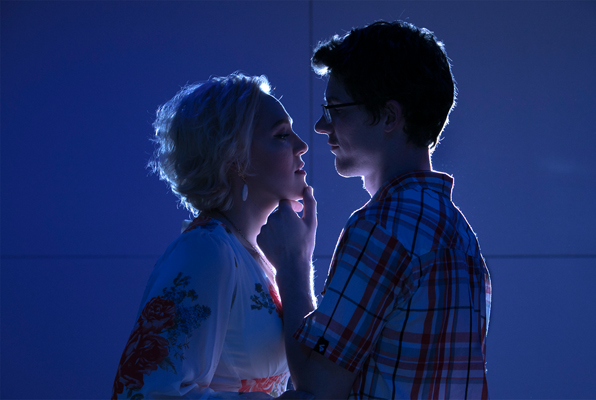
Back/Rim Lighting – The final type of light direction is one of my favorites–back/rim light (either at night or in dark interiors). Adding a gel and a low powered/gridded speed light about 6 ft behind the couple is a great nighttime trick to add to your bag (bottom-left). The couple could also be in full silhouette or I could choose to add a video light in the front to illuminate their faces slightly as seen in the photograph on the title page. Sometimes I even let the flash behind them flare into the lens to create even more drama!
Understand how to control the light coming from these three directions has really given my imagery a different look.

Alison Carlino will be teaching a class at the 2021 Texas School of Professional Photography.
Alison Carlino has 17 years in the industry and has seen the trends come/go. In this class, you will learn lighting off camera, modern posing, and the collections/products that have made her senior portrait & sports business wildly successful. Expect very little lecture and a lot of hands on.


