Removing Unwanted Noise and People
by
Bob Coates – M.Photog.M.Artist.Cr., CPP, EA-ASP
Photoshop’s Median Filter is a powerful tool for good, or evil depending how you use it. Essentially the Median filter will process multiple files and only keep the information that appears in all the files. His extremely useful when you can’t clear an area of people but want to show only the architecture. Another use is to help control noise when using high ISOs when capturing your photos. Here are two different processing examples.
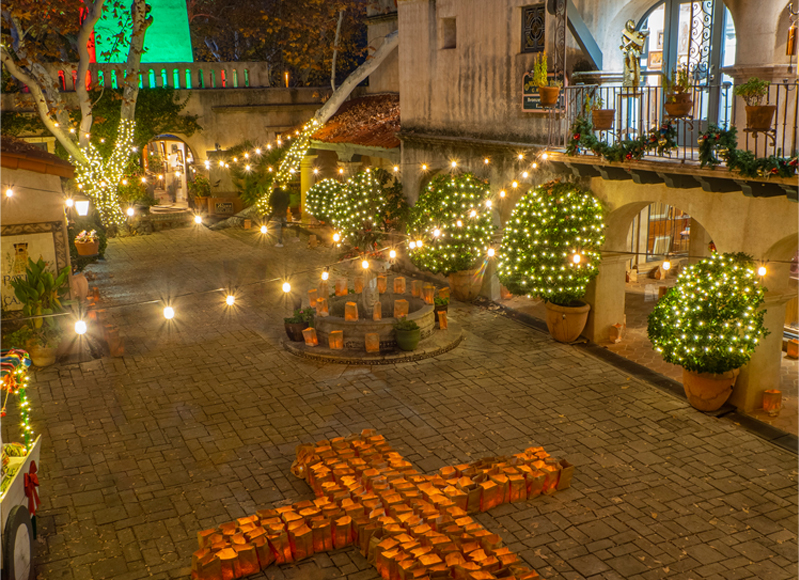
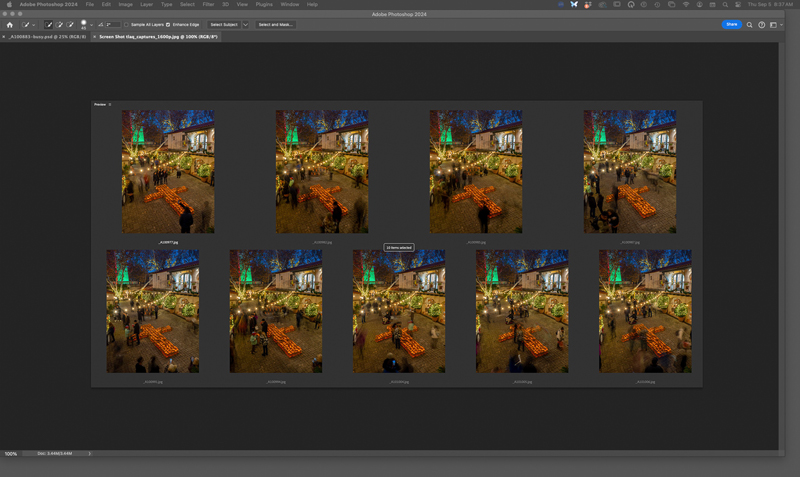
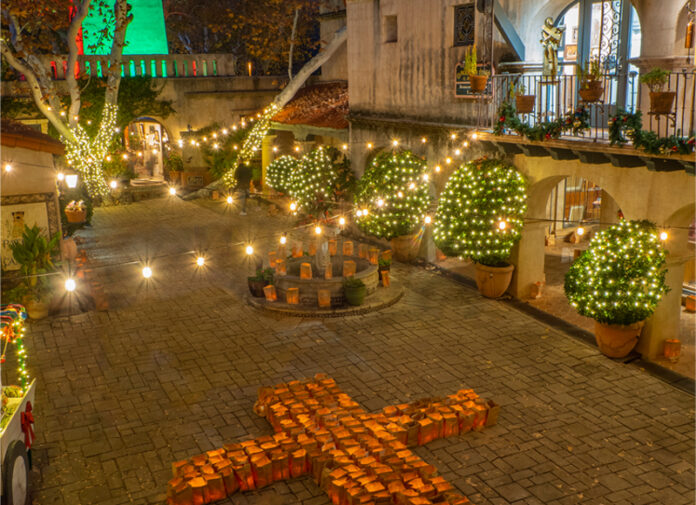
Get rid of those pesky people – The trick to success with this method is to capture multiple images of the scene with the camera mounted on a tripod or other absolutely stable surface. Frame your scene and set the interval timer on your camera to make multiple images of the same scene. have the camera in manual mode as aperture or shutter priority will generate differing exposures. The idea is to ensure you are capturing multiple frames with no people in various sections. In places where someone does not move, or there are many frames with people covering the same space will lead to some ghosting after the process. That was the case in this image from the Luminaria lights at Christmas. LOTS of people milling around and passing through. Once the Median Filter was employed I went back in to the time lapse and found specific areas free of people and used masks to fix problem places that the Median filter missed. To ensure you have enough areas free of people keep making images. I’ve seen examples of this filter making Grand Central Station look deserted.
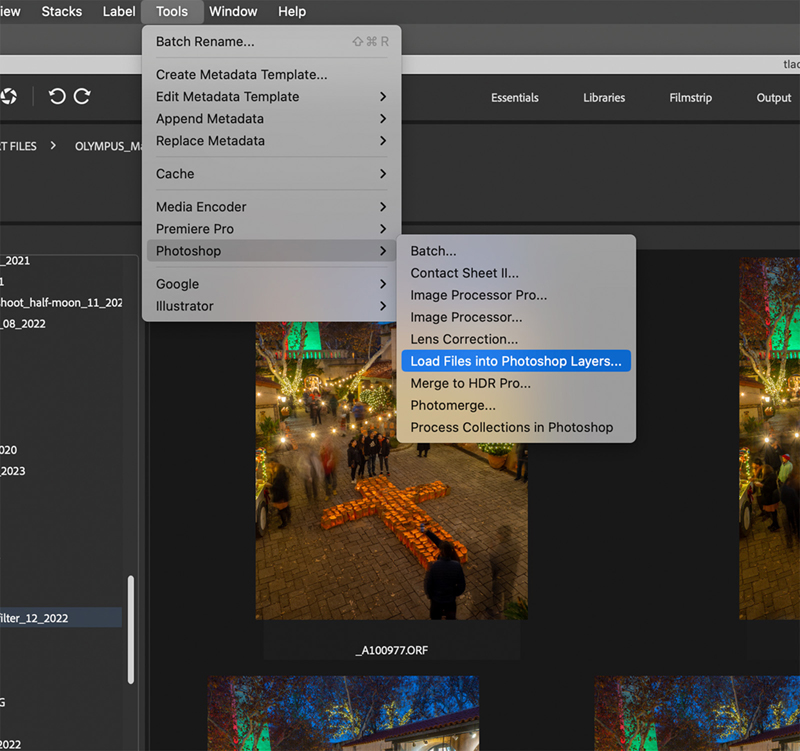
The Median filter process – Adjust color and density across all your images. Open shadows and control highlights using either Adobe Camera RAW or Lightroom. Select all the images needed and Load Images into Photoshop Layers. In both programs there is an automated way to accomplish this. In Adobe Bridge, go to Tools>Photoshop>Load Images into Photoshop Layers. Lightroom has a similar command.
Once the files are in Photoshop, select all layers. On MAC, CMND-click or PC, Right-click to call up a dialog box and Convert to Smart Object. You can also use the Layer Menu and go down to Smart Objects>Convert to Smart Object. Next, go to Layer Menu Smart Objects>Stack Mode>Median. Give it half a moment or so and the magic is delivered with people or noise gone.
ISO Noise – I do a lot of high ISO image captures during my Milky Way and Night Sky Photography Workshops in Sedona, Arizona. You capture and process the files in the same manner as for people removal. Camera on tripod. Interval timer to capture multiple images. I usually make 10 exposures of a scene that will be used as the foreground for the Milky Way sky image.
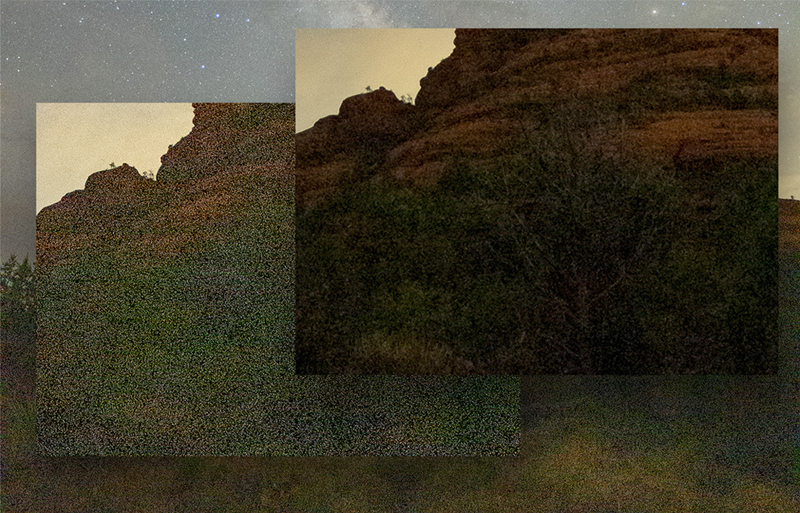
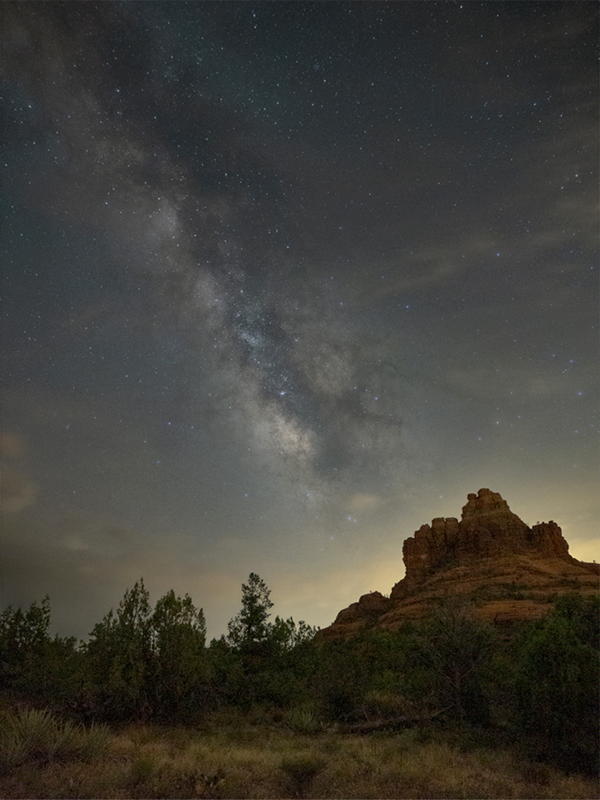
Wait! “How does this work?” you ask. Each image that you make has a slightly different noise pattern. When run through the Median Filter process the “odd man out” noises pixels are removed. When you first start experimenting with this technique, you might want to make a higher number of exposures then test to see how many photos need to be made and processed to give you the best results for your camera and lens combination. Note that when the temperatures are higher more noise will be generated and more images necessary to get the best results.
Final thoughts – Photoshop is an extremely powerful tool. Hopefully you’ll find this slightly obscure technique helpful in getting the most from your files. If you want to learn more about night sky photography and how to get the most from high ISO images check out my workshop page on successful-photographer.com.
 Bob Coates is a successful photographer, educator, and author based in Sedona, Arizona, where he resides with his wife and best friend, Holly. He is also an instructor at the Texas School of Professional Photography. You can see more of Bob’s work at bcphotography.com and coatesart.net. Read more photography articles by Coates at successful-photographer.com and photofocus.com.


