


Magic in the Night Sky
By Bob Coates
Ralph Waldo Emmerson said, “The sky is the ultimate art gallery above us.” I must agree. It is beautiful beyond words. But, as with many things photographically, the camera can take the scene and extract even more detail and wonder.
Photographing the night sky brings a host of issues that do not have to be dealt with during the day. I equate this genre of photography to playing a 4-D chess match. Where will your main subject be, and when? Will the moon wash out the sky? Will the weather cooperate? What kind of specialized gear will be needed? What will be in the foreground? My wife suggests that I am obsessed with night sky photography, and she could be right. But the truth is that I enjoy the challenge of putting all the pieces in place and coming out with a solid night landscape image.

A perfect example of where the camera and processing gives us greater wonder of what resides in the night skies is the Milky Way. When you look up, the Milky Way appears to be a soft band of clouds spanning the sky. Many are surprised after seeing images of the Milky Way with color and clouds surrounding the Galactic Center. These images use the magic of photography to reveal detail that is not available to the naked eye.
Our eyes have a single aperture at any one moment that can only absorb so much light and information. A camera lens, however, can be opened wide allowing more light for an exposure. The other factor is that the camera sensor can collect information over time with long exposures. Once that extra information is processed using software such as Adobe Photoshop more of the Milky Way comes forward.
 Predicting the Galactic Center Position – We live in a time when information is available at our fingertips that was only dreamed about in the past. There is an amazing app called PhotoPills. If you are only going to get one app to help you work with the sun, moon and night sky in all its splendor, this is the one. You can use it to plan your night sky imaging from the comfort of your living room recliner. PhotoPills also gives you access to maps and topography around the world and it tracks and shows positions of the sun, moon, and Milky Way. Even better, it has a very powerful feature called Night Augmented Reality which allows you to see when and where the Milky Way will appear. A camera view of the night sky is overlaid on the scene in front of you. Using a timeline scrubber, you can change the date and time to watch the position of the Milky Way in relation to your foreground elements.
For example, suppose you’ve found a gnarled tree or rock formation which you would like to use as your foreground. Start Night AR and scrub through and you can see where you will need to stand at a given time and date. If the date is sometime in the future, you can snap a photo with the overlay and add it to your planning notes for future. The individual Pills, as they are called, contain information on the proper exposure time for the stars to keep them from trailing. Simply plug in your camera model, lens choice, and aperture. PhotoPills tells you at what point the stars will start to loose their points and become oblong. It also shows Depth of Field, Field of View, Hyperfocal Table, and much more. At only $10.99, you get the equivalent of more than $50 worth of apps, but all in one place.
Weather is also a major concern when photographing the night sky. Will the clouds hold off when the stars align? Your regular weather app can be a big help with a general forecast. Specialized apps predicting the various cloud patterns can be added to that for more specialized information. Will there be low, medium, or high clouds? What will the total cloud cover be and at what time?
One of my favorites sources for that information is a free app out of the United Kingdom. It’s called Clear Outside. It is a free app built by First Light Optics as a “free gift to the astronomy community.” It will find your space and give you an amazingly accurate forecast of the clouds, rain chances, and the sky quality in the Bortle scale. You can program favored locations for planning when you are working out of your area or working on a trip plan. Another weather app that is a valuable addition to the ones already mentioned is Ventusky. This app shows current radar and satellite imagery along with wind patterns, temps, aurora probabilities, and more.

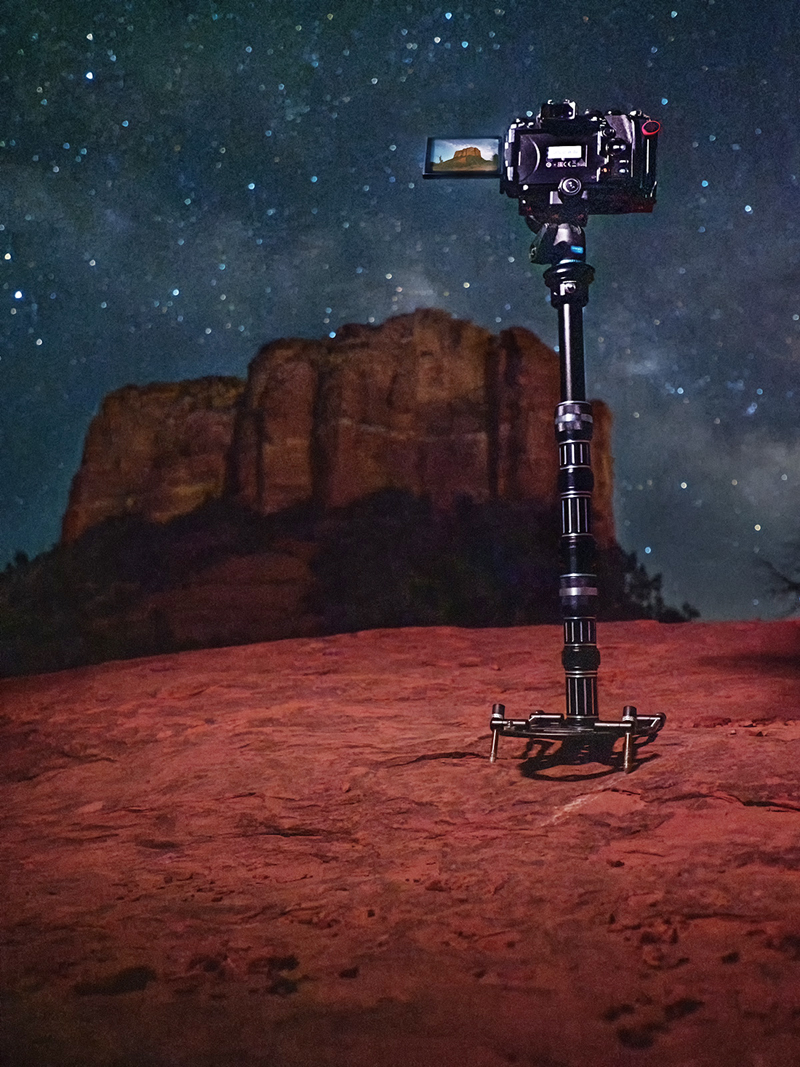
You’ll also need to keep your camera steady with proper camera support. Therefore, a solid tripod is a must. As a FotoPro ambassador, my favorite is the Eagle E-6L. Should you wish to learn more about it, give me a shout and I can get the tripod for you at 15% below MSRP with free shipping. There is more info on successful-photographer.com.
I often work with multiple cameras and do not wish to carry a separate tripod. I add the Platypod gear to keep the weight down but still have full support. That consists of the eXtreme base, two handles, and a ball head. The Platypod gear breaks down quite small yet allows for lots of options from almost ground level up to 24 inches. I’ll often place it on a rock to get even more height if necessary. You will find more info at Platypod.com.
Focus at Night – There is nothing worse than making image captures over hours of time and downloading blurry photos. It’s heartbreaking. Some practice and solid techniques can help keep that from happening to you. If your camera has Live View, you can start to check your focus by zooming in on the screen. Use manual focus and rack your focus in and out while working to achieve very sharp stars. Once you have what you think is a solid focus, make an image. Take the resulting frame and blow it up as large as possible on your camera, checking the focus again. A useful tool that can be found at your camera store or on Amazon is a 10X loop. They are under 10 bucks and can save a night’s shooting!
If your camera is a recent model from Olympus such as the OM-D E-M1 Mark III, OM-D E-M1X or the cameras from OM System, there is the Starry Sky AF mode. Having an autofocus on the stars is a wonderful treat. Whatever you do, do not depend upon the infinity mark on your lens for anything other than a starting place. Infinity marks can be less than accurate due to ambient temperatures. Test, check, and check focus again as the night’s shooting goes on.
Location – To find the proper conditions for night sky photography, light pollution must be taken into account. You can go online with darksitefinder.com where light pollution is mapped. You’ll be looking for dark skies that are southeast to south to southwest depending upon the time of year.
Earlier, I mentioned Bortle scale. Bortle numbers reflect how many stars can be seen throughout the night. Bortle One is perfectly dark with absolutely no light pollution. Bortle Nine is lots of light with planets and very few stars visible. I am fortunate to live in Sedona with a Bortle Four sky view. I find that to be a perfect number. Bortle One skies have so many stars visible you have to reduce the number of stars in post in order to recognize the Milky Way.
Milky Way Star Processing – As with all post-processing, there is an art as well as a science to bringing your vision to fruition. I prefer a slightly blue to neutral cast to my skies with a throttle on the amount of color to enhance the Milky Way. As they say, “The sky’s the limit” with your artistic vision.
Adobe Process – I refer to Photoshop as my processing muse. It has the capabilities I require. My workflow is Adobe Bridge for viewing and culling and Adobe Camera RAW (ACR) for processing the files into Photoshop for final tweaks, masking and blending of the foreground and sky. If you are a Lightroom user, you’ll start there before moving into Photoshop. ACR and Lightroom have essentially the same processing engine. There are other programs available as well.
Adobe Camera RAW or Lightroom can move you way down the road toward the final image. I make overall color and density corrections as exposures are usually technically overexposed to help control noise. Next, before opening the file in Photoshop, I do additional adjustments using the Gradient and Radial masks. Run a gradient from the top down for doing additional work on the sky. Use a gradient from the bottom up to work separately on the foreground. Then, employ the radial filter for specific adjustments on the Galactic Core and the rest of the Milky Way. Open the file in Photoshop as a Smart Object if you still want to have all of those controls adjustable with no loss of quality.
Once the file is open in Adobe Photoshop, it’s time for Adjustment Layers. Utilizing color and density corrections along with masks, massage the image to your liking. One caution… don’t go overboard. It’s easy to start adding unreal color to your images. That said, this is art and you are the artist. If you want to delve deep into Milky Way and Night Sky photography I host Workshops in Sedona, Arizona. Find more info at successful-photographer.com.
 Bob Coates is a successful photographer, educator, and author based in Sedona, Arizona where he resides with his wife and best friend, Holly. He is also an instructor at the Texas School of Professional Photography. You can see more of Bob’s work at bcphotography.com and coatesart.net. Read more photography articles by Coates at successful-photographer.com and photofocus.com.


