


DON’T BE BAFFLED BY ALL OF THE DIFFUSION
by Guy T. Phillips
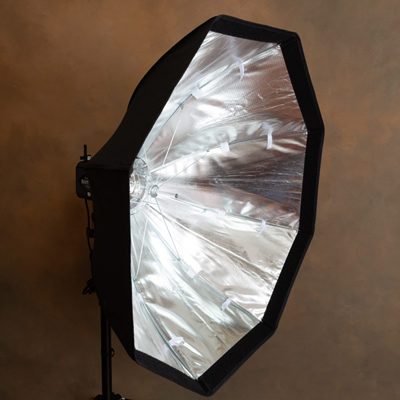
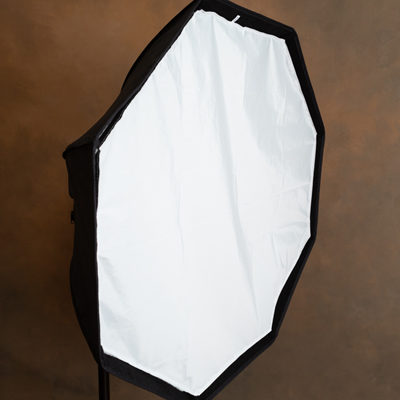
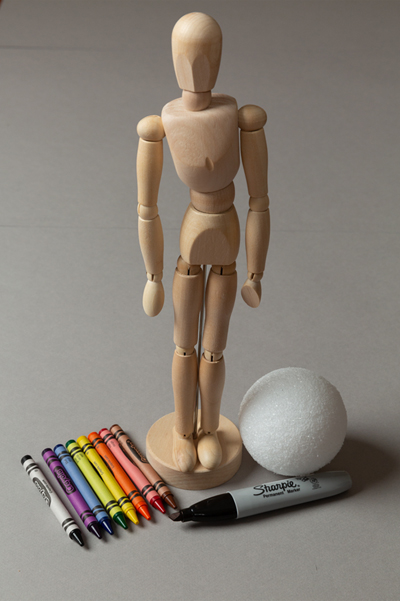
Most softboxes come with at least one baffle, diffuser, or in some cases, both. So why use them? To illustrate the effect accurately, we’ll use the same exposure in each image; ISO 400, 1/125, f13. The light 90° left of camera is using a 36 inch Westcott Rapid Box Switch Octa-M, metered to f11. The fill light behind the camera is using a 32-inch Westcott Convertible Umbrella – Optical White Satin with Removable Black Cover, metered to f5.6. The camera and lights have been kept in the same position for each image. Our model is from the new CPP Technical Evaluation Kit. Let’s call him “Blickman.”
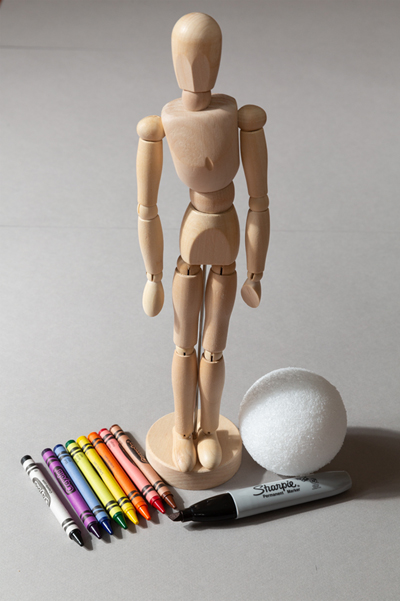
First image – no baffle or diffuser Taking a look from left-to right, in the first image and you’ll see hard shadows beneath each crayon and below the tip of the Sharpie®. Looking at Blickman, you can see a very distinct shadow from each edge of his face and hips. Blickman also casts a strongly defined shadow onto the Styrofoam® ball, as does the ball onto the drawing paper.
Second image – baffle, but still no diffuser Let’s place the Inner Baffle within the Rapid Box Switch. For this model of modifier, the Inner Baffle is attached using the elastic tabs and snaps to secure. We’ll need to re-meter, since the baffle density is rated by the manufacturer at 1-stop. Note that I’ve metered from just above Blickman’s head, and the exposure remains the same, yet look at how dramatically the shadows along the crayons and Sharpie® have softened! The shadows are also softer as you look across the Blickman’s face and hips, as is his shadow onto the ball and paper.
Thinking about the clients you serve and how you choose to create an image, which look would be more suitable? You may need or prefer the hard lines from image 1, or your subject may require the appeal of the softer effect in image 2.
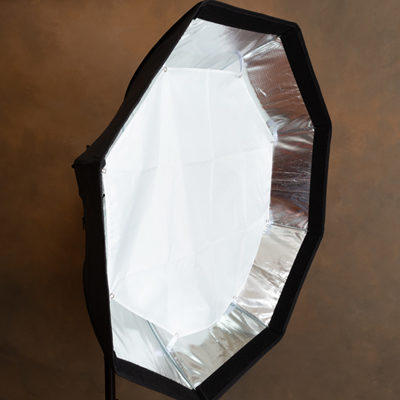
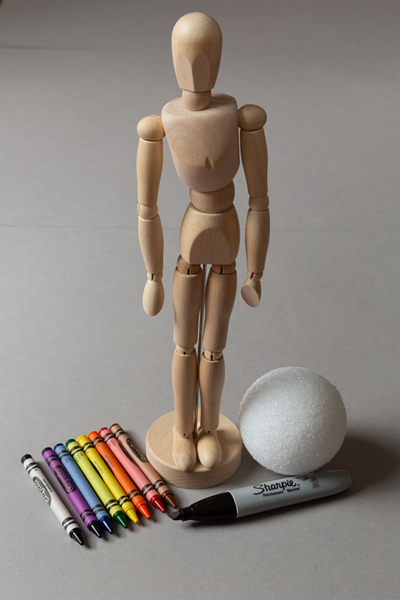
Third image – baffle and diffuser Not all mofiers will need or have both an inner baffle and an outer diffuser. For example, the inner baffle is not included with Westcott’s Octa-S or Strip 1×2. But let’s see if using both a baffle and a diffuser makes a difference. We’ll need to re-meter again, with the diffuser density rated at 1-stop (2-stops total when used with the inner baffle). In image 3, metering was once again taken from just above Blickman’s head.
Do you notice how the soft the shadows are across his face and hips, how the shadows are faint across the crayons, ball and paper? Have you noticed the progression of the background has changed over each of the three images? What did you notice about the hot spots on Blickman’s right forehead and shoulder?
Just as before, consider the look your clients need and deserve. As you gradually soften the shadows, do you gradually increase their satisfaction?
We owe it to our customers to provide them with creative work that uses the necessary tools to set that work apart from the ordinary. Try it yourself and see what a difference it can make.
Read: Getting Started With Light Modifiers, Part 1
Read: Getting Started With Light Modifiers, Part 3


